How to Build a Raised Garden Bed
Building your own raised garden beds: A step-by-step guide
Planting a raised garden bed is a fantastic way to bring new life to your outdoor space. Building one yourself is not only simple but also more budget-friendly than purchasing a pre-made version. Wondering how to get started? This handy guide has you covered.
Inside, you’ll find everything you need – from a list of tools and materials to step-by-step instructions for construction, planting ideas and more.
Tools and materials you’ll need to build your raised planter
Before you start building, you’ll need to gather a few tools and pick your materials.
Tools:
- Tape measure
- Mitre saw or hand saw
- Drill (and a screwdriver bit if possible)
Materials:
Timber
Timber is the most popular and versatile option. Pressure-treated wood sleepers are budget-friendly and durable. However, if you’re planting fruit or veg, it’s a good idea to line the inside with plastic to prevent chemicals from seeping into your soil.
Untreated or reclaimed wood
These materials could be things such as recycled pallets, scaffold boards or offcuts. These are great for the planet and add character to your garden. Reclaimed or untreated wood has a shorter lifespan, but can be painted with a preservative to extend its life. Again, lining with recycled plastic is a smart move for keeping things safe for your plants.
Planning your raised bed: Size, placement and soil depth
Choosing the best location
Before starting this project, don’t forget to consider sunshine in your raised garden bed plans. Most fruit, veg and flowers thrive in sunny spots, so choose a location that gets consistent daylight. If your garden is shady, you can still grow certain plants. Just be a bit more selective with your plant choices.
Plan out the size of the raised bed garden
Your raised garden bed plans will begin with determining the size you want your planters to be. If you’re new to gardening or working with a smaller space, go for several smaller planters rather than one big bed. Beds that are less than 1.5m wide are ideal. That way, you can easily reach the middle without having to step on the soil.
Choosing the right soil depth
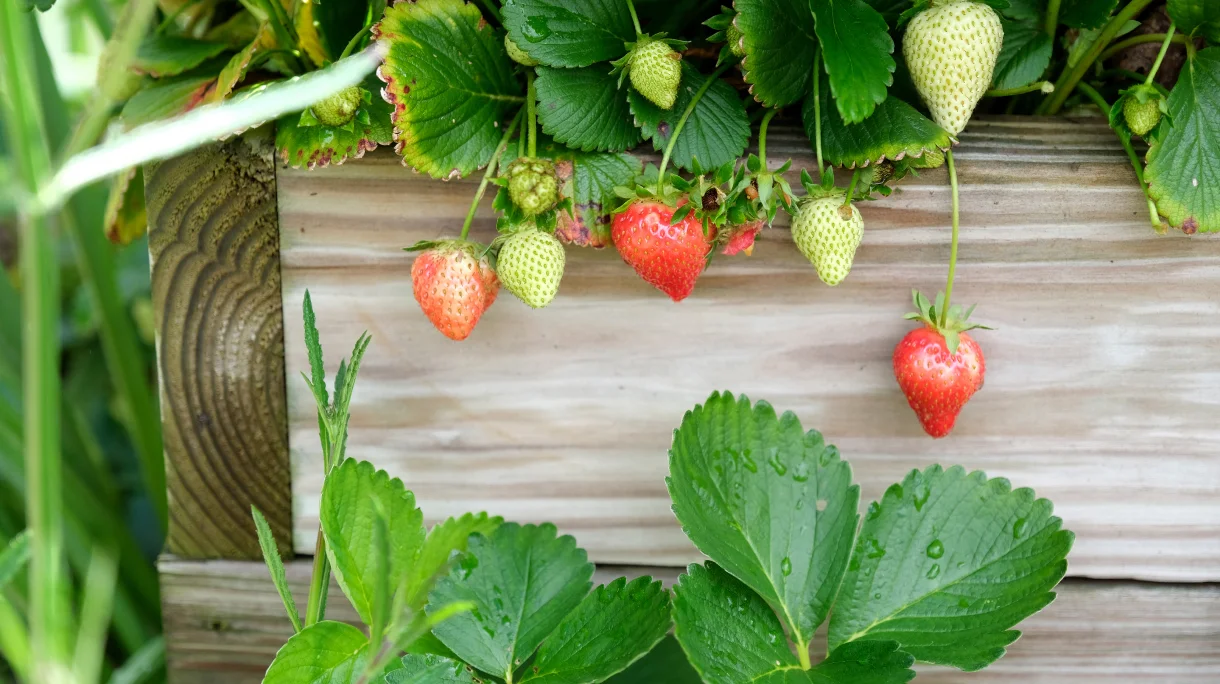
Shallow beds (around 30cm) are great for things like salad leaves, strawberries and dwarf bulbs. But for most veg and flowers, aim for at least 45cm. The deeper the bed, the better the drainage and the happier your plants will be.
How to build a raised garden bed step by step
Here’s your simple guide to getting your raised bed built and ready to plant:
1. Measure and mark your timber
Use a tape measure to accurately mark your timber. Taking your time here means fewer headaches later when it comes to assembly.
2. Cut your timber to size
Use a mitre or hand saw to cut your pieces to size. Aim to cut the wood as squarely as possible for a smooth finish on your planter.
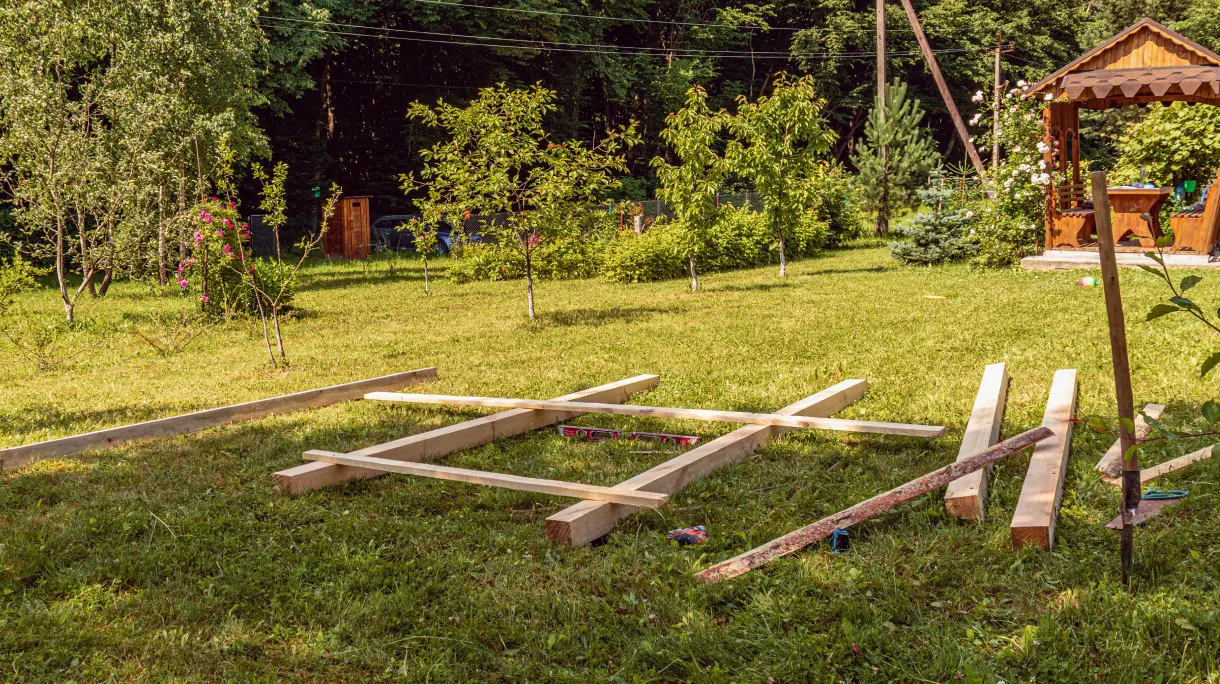
3. Position your timber in your garden
Place the cut timber in your chosen spot. Use a spirit level to make sure everything sits evenly.
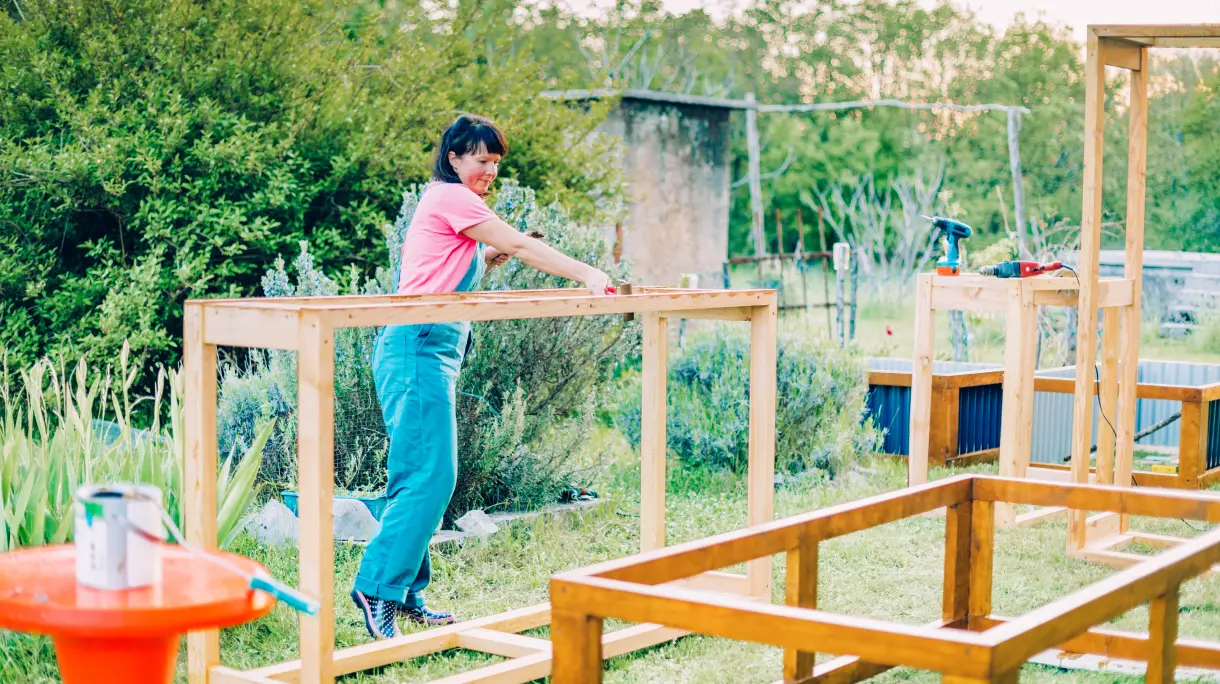
4. Assemble the frame
At each corner, drill two holes, one at the top and one at the bottom. Once drilled, use the holes to screw in long, heavy-duty screws to secure the pieces of timber together.
If you’re building a deeper bed with multiple layers, repeat this step and fasten each layer securely to the one below.
5. Add lining (if needed) and drainage holes
If you’re using treated timber or reclaimed wood, now’s the time to add a lining. Recycled plastic works well and is better for the environment. Then, drill drainage holes into both the planter and the lining to stop the soil from getting waterlogged.
6. Prepare the base
If you haven’t lined your raised planter, you will need to remove all turf from the bottom and loosen the soil.
For beds deeper than 50cm, you can add rubble or subsoil to the base to improve drainage. If you have a deep, raised garden bed, still add rubble even if you have added a liner.
Rather than waste the dug up turf, you can place this upside down at the bottom of the raised bed. This is a natural way to enrich your soil as the turf breaks down.
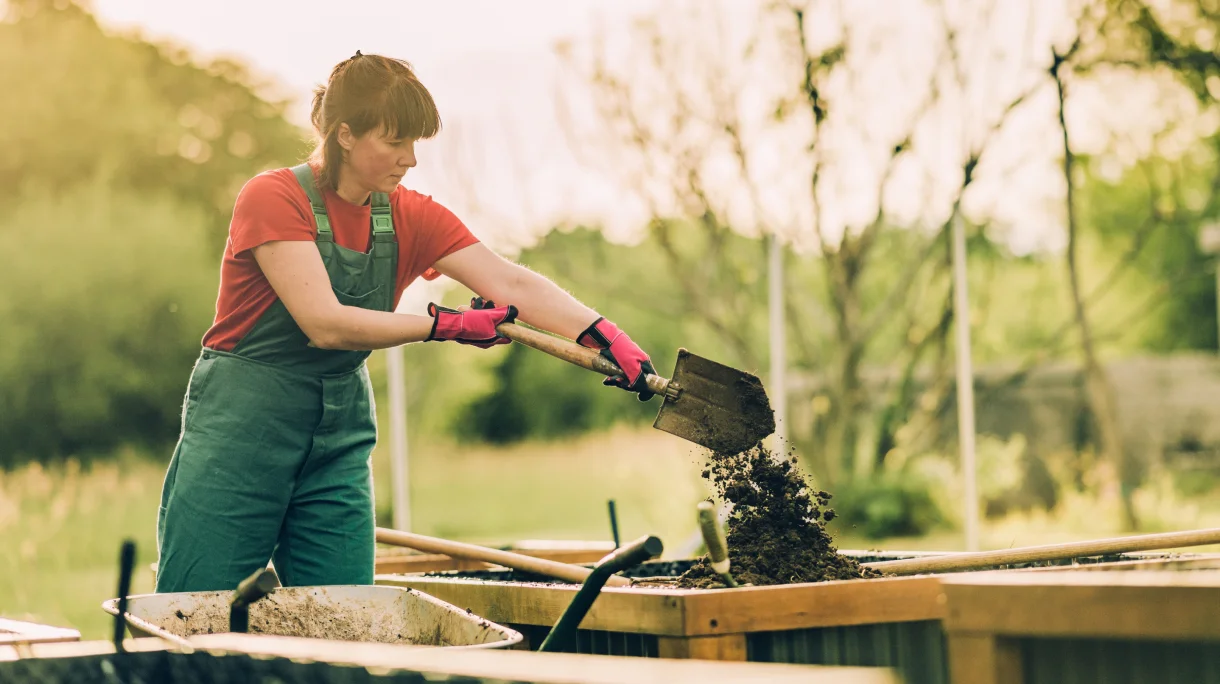
7. Fill the rest of the bed
Add a mix of organic matter (like compost) and topsoil that suits what you’re planning to grow.
What to plant and when
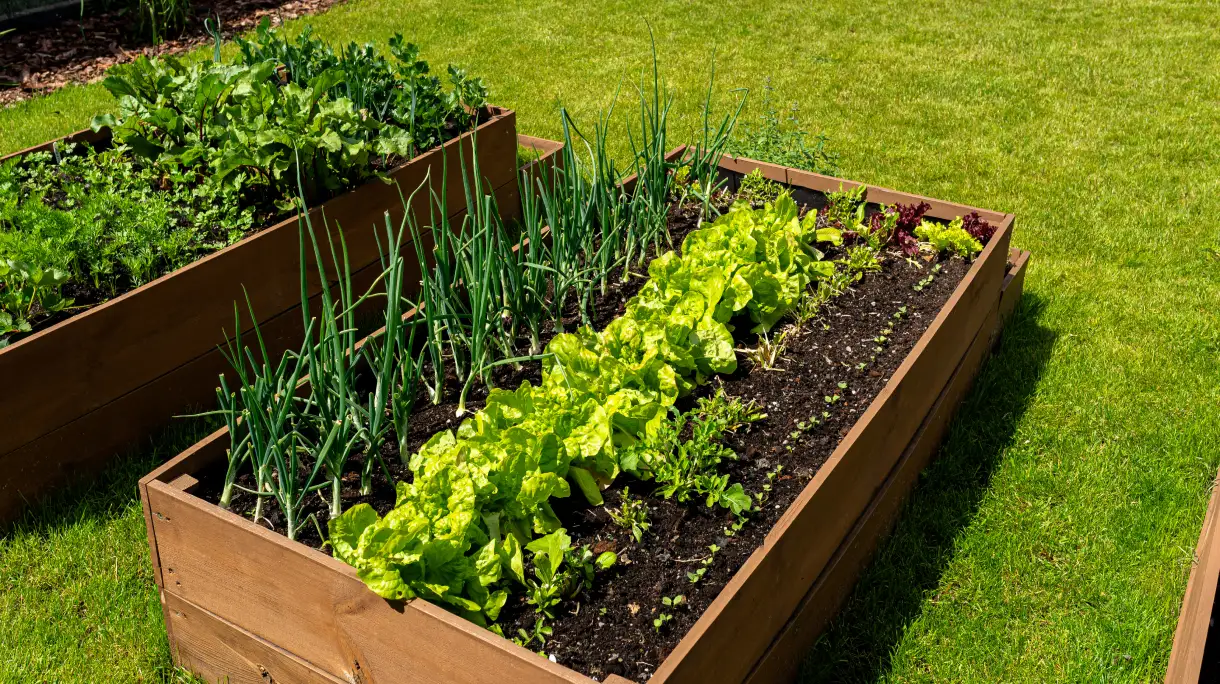
Now you’ve built your bed, it’s time for the fun part of filling it! Tomatoes, courgettes and beans thrive in the summer sun. When autumn arrives, focus on root veg like carrots, parsnips and leeks. In winter, enjoy cold-hardy crops or plan ahead indoors with herbs and microgreens. Spring is ideal for crops like lettuce, carrots and onions.
You can find more information in our year-round guide to growing fruit and vegetables.
How to make your raised bed last year after year
Once your raised bed is thriving, keep it that way with these simple maintenance tips:
- Water regularly: especially in warmer months, as raised beds can dry out faster
- Refresh your soil: top up or replace soil at the start of each season to ensure constant nutrients for your plants
- Rotate your crops: Planting different things each year helps prevent soil exhaustion and keeps pests at bay
Raised beds are easy, customisable and great for small spaces
Raised garden beds are one of the simplest DIY projects for your outdoor space. They look great, help your plants flourish and offer flexibility whether you’ve got a large garden or a small patio.
So, whether you’re growing herbs for the kitchen, flowers for the bees, or veg for the family, a raised garden bed can work for you.